Storage / 5 min read
Pack a weekend camping setup in two cargo bins
Divide bulky camp equipment from items you need at the hatch, then size each bin around access, loading clearance, and actual packed weight.
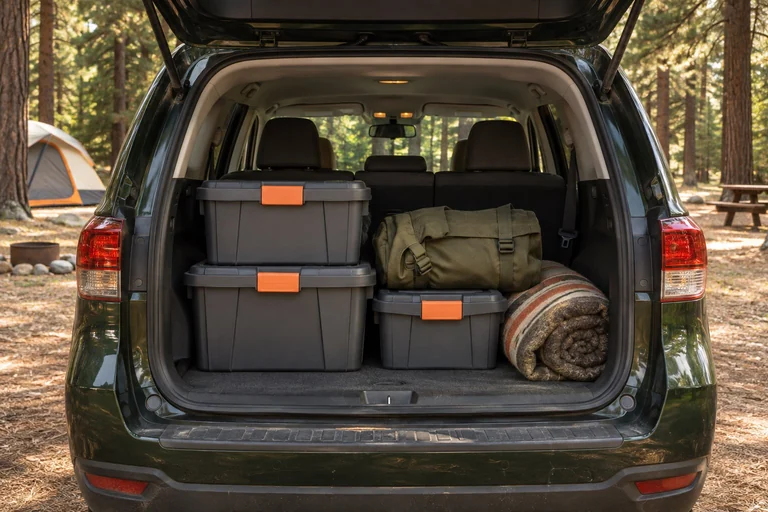
Split your gear by when you need it
Make one pile for things you use at arrival or departure and another for things you open once camp is set. The first pile might include a headlamp, gloves, and a small repair pouch. The second can hold tarp fabric, the sleeping accessories that fit, and spare layers. Keep anything you need for roadside safety accessible even when both bins are secured.
Run through an arrival in rain or darkness. If you would have to unload bedding to reach the first lamp, move it. If a wet tarp would land on dry clothes when you pack up, set aside a separate bag. The two-bin system is a way to stage the work. Food, water, and other gear can travel separately in containers suited to their needs.
Fit the bulk bin around the awkward pieces
Start with the longest rigid thing you really need to enclose. A folded tarp can bend around corners. A cook stand or folding tool has to pass through the opening. Measure the item and compare it with the narrowest usable point, including wall taper and the space the lid needs to seat.
The Rubbermaid ActionPacker 24-Gallon, model RMAP240000, is a deep candidate for bulky soft gear. United Solutions publishes a 20 by 14.5 by 15 inch interior in the model sheet. If that is close to the size of an important item, measure the actual box at the opening. Store listings can round the dimensions differently, and a nominal capacity in gallons tells you little about shape.
Keep the access bin small enough to use
The Front Runner Wolf Pack Pro is another removable box to compare when the bulky kit needs less volume or when you would prefer two more similarly sized bins. The YETI GoBox 15 is a smaller option for frequent-use items such as lights and tool pouches. Check its published interior dimensions and try the organizer with your gear in place.
Give the access bin a simple routine. Put the first two items you need in the same place every trip, and set smaller gear into soft pouches so it does not fall to the bottom. Pack your bulky bin first and put the access bin where it can open with the bulky one still in position. Confirm you can reach both latches from where you stand.
Measure the opening, lift, and lid
Make a cardboard footprint for each candidate before committing. Check the opening with the seats in the positions you will use and with any cargo cover installed. Measure across wheel-well trim and at the narrowest part of the hatch. Account for the height at the point where you actually tilt the tote to lift it over the sill.
Next try the weight with the gear you intend to carry. A big box fills fast. If the loaded tote is awkward to lift or wants to twist when you move it, divide dense tools into the smaller kit or carry them separately in a suitable secured container. Think about unloading at camp when the ground is uneven and your hands may be wet.
Plan securement with the bins installed
Check your vehicle owner’s manual for its cargo limits and approved anchor points. The NHTSA advises securing cargo and checking the load before travel. Plan straps and clearances with the rest of the equipment installed, including where you will place the cooler and water. A lockable lid keeps the box closed. The box still needs an appropriate means of restraint in the vehicle.
Leave space for the hatch to latch and confirm the packed setup does not interfere with occupants, safety equipment, or the driver’s view. At the end of the trip, unpack damp items and restock the access bin before it goes back on the shelf. That makes the next pack a quick inspection instead of a search.
Purchase checklist
Buy around the bulk kit and the access sequence. Check both with the rest of the trip load in place.
- Measure the largest rigid item and the narrowest part of the bin opening.
- Check cargo floor, hatch, and lid-removal clearance with the seats in use.
- Verify model, pack quantity, and any separately sold organizers or locks.
- Weigh each loaded box and try the full carry path.
- Identify the vehicle’s approved anchor points and choose appropriate cargo securement.
Sources & further reading
These sources support the factual reference points in this guide. Practical comparisons and packing suggestions are editorial guidance.